Monday, September 30, 2019

1894 Skirt

I got the skirt done for my 1896 walking ensemble this past weekend. 

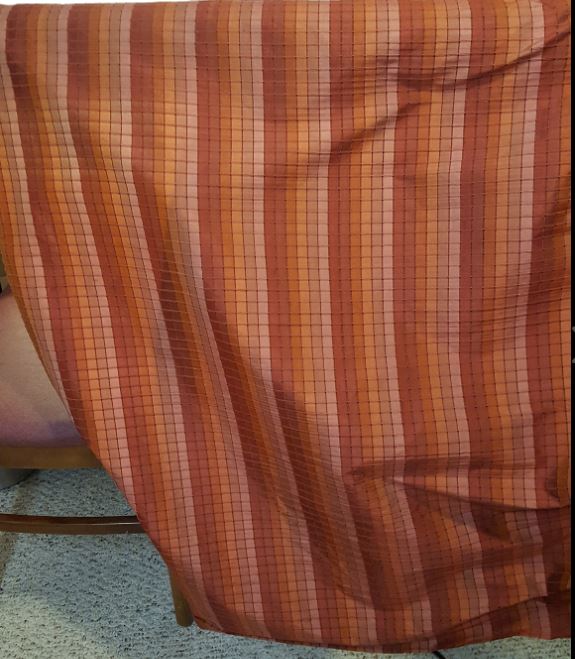
I'm using Ageless Patterns #2217, 1894 Brown Godet Skirt. The original is made out of a brown wool and I can't wear wool, so I opted for a gorgeous teal cotton velveteen. 


The pattern says the skirt is for a 25" waist. I measured out my pattern pieces to figure out where to add, and the measurements added up to 29.75"! After double checking, I decided to just cut as is. The original has the three back panels flat lined and a 6" horsehair braid facing on the front panels. I flat lined the back in silk organza.

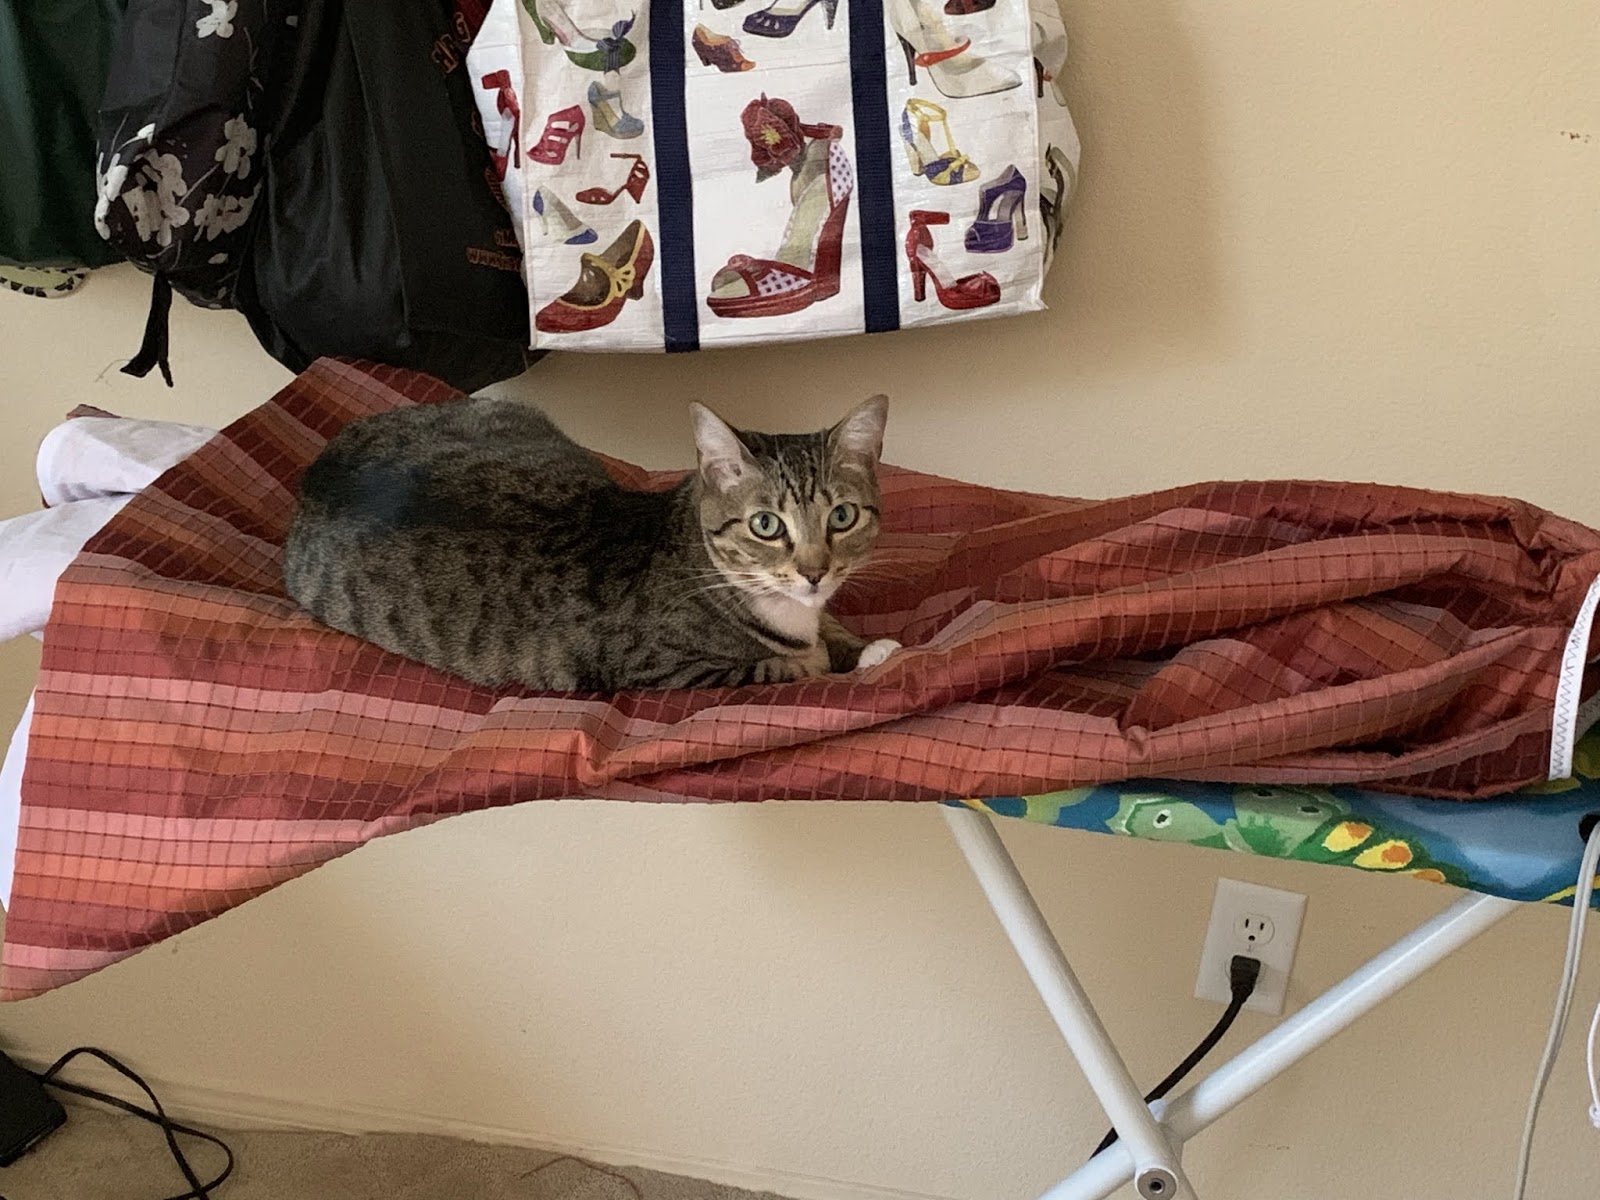
Gratuitous cute kitten picture, "helping" me with the skirt panels.


I flat lined the back panels and sewed them together. There is an opening left on the left side of the skirt. I sewed together the front panels then had to do a lot of futzing and thinking to figure out how to attach the front to the back, with the burnous pleats ("godets" mean "gores" according to online searching, but these are burnous pleats). I decided to hem the tops of the back panels first, as you can see here. I use my serger for flat lining - totally not HA, but as a bonus you get nice finished seams. I also made a 3" hem facing and hemmed the back panels before attaching to the front.


I finally figured out that the side front to side back seam had to be sewn leaving the 5/8" seam allowance at the top for the waistband, so I pinned the back 5/8" down from the upper edge. The seams didn't match at all, the front was about 3" longer than the back. I checked the pattern pieces and they didn't line up either. I wanted a hem facing on the front anyhow, so I just let it be. This is also the reason I decided to hem the back at the lower edge before sewing the side seams.


The front has a 6" strip of horsehair braid in the hem, which I covered with a hem facing. Since it's so deep I had to do a lot of pleats in the facing and it's a very ugly hem job on the inside! Since it was so far up the skirt I just whip stitched it into place instead of slip stitching like I would usually do.


The burnous pleats aren't attached to the waistband at all. They are folded in half, and tacked together about 1" at the side seam of each piece. The extra seam allowance I left on the front is what is attached to the waistband. The slit that was left in the back is hidden in the pleats and how the skirt opens. The pleats seem to be standing out a lot more than in the drawing photo, but that might be the velvet, I'll play with them.


The final step is the soutache on the hem. I haven't drawn up the pattern I want to use yet.

Note Petunia is not wearing her petticoats in these photos and I imagine the skirt will look much better once she has them on!

Monday, August 19, 2019

1830s gown is finished!

My 1830s gown is finished! Sewing on all those hooks and eyes was a pain. I ended up leaving the skirt and bodice separate. I used two hooks and bars on the "belt" of the bodice and regular hooks and eyes for the rest.

After that it was time to make a bonnet and pelerine. I used the Black Snail 1830s bonnet and pelerine pattern. Hats are so much fun to make, and this one was done entirely by hand (with the help of spray glue - amazing stuff). It starts out with a buckram frame with wire sewn to it, then is covered in flannel. Here's the crown of the hate, then the frame covered in flannel.


Then the hat is covered in fashion fabric. I used the leftover cotton sateen from my stays, and glued all the fashion fabric instead of basting it. 


Appa got neutered the day before, but he was still up for helping me cut out material. Note the slightly glassy-eyed look though.


This is the first hat I've done that uses bias binding to finish the edges, and I really love the way it looks.


Appa was also REALLY interested in helping me sew the lining into the hat!


Finding matching ribbon for the plaid was difficult. Red was too red, orange was too orange. I ended up with this soft pink and am happy with it.


The pelerine was super simple - sew collar, sew edges together, turn, and add a hook and eye. I used some lovely cotton eyelet I got on eBay. I hope it won't be too tight in the neck when I'm wearing it. I did measure my neck and used the recommended pattern size. It seems a shame to cover up the gown's beautiful neckline with this, but for day wear it's required.


Now all I have left to do is finish up my hair pieces, and it's ready to be tried on and photographed!

Tuesday, July 9, 2019

1830s Bodice

My bodice is finished other than needing closures!

The original gown has a faux wrap front bodice, and closes in the back. There's also a corded trim around the neckline. I didn't want to sew actual curved cording channels, so I bought some narrow black cording to pick up the little black dots in the silk.

I used leftover cording from my petticoat for piping, that is 5/32" wide. I think now that I'm done it looks a little chunky, but no way am I starting over.

I did the back first, flat lining the bodice pieces and piping the side back seam. I really had to let my OCD go on the plaid matching - you see all kinds of wild non-matched plaids in the period, but it was hard for me!


Then I made the front lining and basted it to the back at the sides and shoulders. Forgetting that the front was supposed to be done on the bias, I first tried it like this. It looks pretty good, but when I posted in my 19th century group, someone suggested bias. 


So here it is draped on the bias, much better. It hugs the torso better. I forgot that I needed to do the cording on the upper edge and didn't leave a wide enough pleat. And the center front of the lining needed to be taken down.


And here it is after it is all constructed! I piped every single seam. I stupidly cut down some of the fashion fabric along the upper edge on one side, which made hemming the lining to it difficult.


Then I had to try it on with the skirt, just to get the effect. No corded petticoat in this picture so the skirt doesn't look as floofy.


Since the sleeves are so enormous, I thought doing the neckline trim would be easier without them. I spent a long time playing around with this and almost gave up. I tried a separate facing which looked really nice but it made the neckline too far away from my shoulders. In the end I went with a fairly narrow pattern to work with the width I had available, and am happy with it.


Our new kitten Appa was helping me with the cording.


Then it was finally time for the sleeves of giant ridiculousness. Bobo had to help me cut them out. Each sleeve uses a full yard of fabric! I had to cut them 2.25" wider at the center so I could do the pin tucks on the lower arm like in my inspiration gown.


I'm terrible at pin tucks, but I tried my hardest to keep them neat using my 1/8" foot. I didn't line the sleeves because the taffeta is pretty stiff on its own, so I piped the lower edges. 


Here's the whole thing with the giant sleeves! That's without sleeve plumpers!


Close-up of the finished neckline, which I'm happy with.


And a sleeve close-up.


I've decided to keep the skirt and bodice separate. I'm attaching a placket to the skirt and everything needs closures. I hate sewing hooks and eyes, sigh. But otherwise it's finished! Next up, a pelerine and bonnet, and work on the equally ridiculous hair.

Monday, June 24, 2019

1830s Skirt

My 1830s skirt is done. The fabric is soooo beautiful! It has little cords woven in to make the windowpane look, which have a way of coming out and becoming cat temptations when they do. The little squares are exactly 1/2" so that's helpful for cutting.

I bought some Kona cotton in a color called "Spice" for the lining, and flat lined the skirt panels using my serger. Not HA but it finishes the seams nicely and is easy. I cut the lining to the full width of my fabric (45") and then used the serger to match up the fabric panels, which are wider at 60". It has 3 45" panels with the front having a slight scoop in the center. The back two are just rectangles. It's going to be attached to the bodice, so I bound the upper edge with twill tape.

The extant image I'm copying looked like it had wide knife pleats in the back and box pleats in the front, and only 4-5 pleats per quarter skirt. It took a while to get it figured out, and then I realized I cut my twill tape 1" too short so had to take out all the pins and start over, but I figured it out. I couldn't get the box pleats to work out in the front with how much fabric I had to take in, so I just went with knife pleats all the way around.


It was definitely way too long, as this skirt is supposed to sit at ankle length. I find TV skirts tend to be long, and it did hurt to cut about 6" off the bottom. I'll save those ends to do the belt though. 

I also decided to add a hem facing using cotton organdy leftover from the corded petticoat. I cut the facing at 5" wide and sewed to the bottom edge, turned inside, and hemmed into place by hand. It took several hours to hand hem 135" of skirt!

Fiona for some reason is OBSESSED with this fabric and immediately crawled under the skirt when I put it on Petunia. Then when I put it on the ironing board for safekeeping, this is where I found her!


Here's a peek at the inside. I am super pleased how well the lining matches, even though it won't be seen. Look at that lovely blind hemming too! Hemming to a lining is easier though, because I don't have to worry about stitches showing on the right side. It's a huge skirt and it feels so floofy when worn!


Monday, June 10, 2019

1830s Undies!

I finally finished my stays and corded petticoat! I used the Historical Sewing corded petticoat workbook and did the facing method. The cotton organza I ordered was 59" wide so I went with 1.5 panels. It came out a bit shorter than I wanted due to the cording (workbook doesn't say to allow for this), but I'm happy with it. I also followed the American Duchess video tutorial and went with 10/32" cording for the bottom four rows, then 5/32" cording for the rest. It took several days to do because it is tedious as hell! And one of the rare sewing things where my long nails are actually useful, to push the cording in place. I wasn't super careful keeping my facing aligned to the outer petticoat at the seams and it shifted a bit, but I can live with it. Underwear after all!

These first 8 rows took me 1.5 hours to sew ... and you definitely want to make sure to keep a full bobbin before starting a group!


I was waiting to try the stays on me until I was done with the petticoat. Petunia has so far been very reliable with fitting things but I always hold my breath when I'm putting something on. Excuse the derpy look on my face, and this chemise will likely not be the final one. I also realized I had caught my front drawstring in my binding stitching so had to unpick and fix that, so one boob is gathered less than the other. They need a good iron as well.


Shocking how much the petticoat stands out even before starching! They recommend you dip the whole thing in starch and let it dry to keep it nice and full, and hopefully that will even out the dipping you can see on the left front.


Then I did the bodice mock-up. I had Benjie remeasure my back width and I'm glad I did, because I think it came out perfect. The darts in the front aren't pinned up yet but there's plenty of room for them, and I'll fit those on my body. Usually TV patterns are short on me but this one will be good, I think. Now I just have to figure out that crossover bodice front I want to do ... but I have some thoughts on how to execute it.


Tuesday, May 28, 2019

An 1830s Gown

I am crazy enough to have two projects currently planned, the 1896 ensemble and an 1830s gown. I saw this amazing silk taffeta for sale in one of my FB groups, and it's totally my colors, so I had to buy it.


I have 11 yards, so plenty to do whatever I want. At first I was thinking 1870s because I love the long sweeping trained skirts, and I spent a lot of time browsing patterns, but the fabric decided it wants to be an 1830s dress. This is my inspiration gown (from the Met):


Those sleeves! And I love the crossover bodice, although it will take some work to figure it out. I have TV455 Romantic Era Dress on the way to use as my pattern base.

And this means new undergarments - a set of stays and a corded petticoat. I probably could use my Regency stays, but I made them out of Soyuz rocket blueprint fabric, and I've been wanting another set in a neutral color. I found one pattern from Black Snail on Etsy for the stays. I've never done true cording before (I did a few rows on a bust panel for my 1890s corset) where you make the channels and then insert the cord, so figured it was a good time to give it a try.

The pattern sizing was weird (due to European sizing, I think). The seller suggested I make the size 12 to fit my waist, use the larger bust gores, and adjust the hip gores smaller if need be. The mock-up was way too short for me, which is a common problem (I am long from armpit to hip) so I added 2" in at the waist. It also seemed a touch small even though the hips should have been too big. I decided just to use 1/8" smaller seam allowance.

The strength layer is a cotton twill, and the outer layer is an ivory cotton sateen. I am using Sugar and Cream yarn as the cording. I very carefully cut out and marked all of my pattern pieces with the cording lines. The pattern says there is allowance for cording shrinkage (this turned out to not be so true ... I had started to cut the front 1/4" wider on each side and regret that I changed my mind).

Here is my front panel with the gores inserted and the cording channels stitched but not corded. It's wet at the bust from cleaning off my fabric marker. 


What a difference the cording makes! Full panel and a close up. I love the design, it reminds me of a sunrise.


Here are the back and side panels. I decided to interface where the grommets will go, and stupidly ironed into the wrong side of the fabric, and had to leave it due to no more fabric. Sigh. It also got super wrinkly when I cleaned off the fabric marker, and I hope I can smooth it back out. The back was supposed to have a bone along each side of the grommets, but I decided to do 3 rows of cording in lieu of the second bone.


Here are a couple pictures of the whole thing. I love how the pattern flows between the panels, and am super proud the the whole thing lines up perfectly at the waist! 


Fiona had to supervise me putting in the grommets ... 17 on each side in the back. 


Then I had to figure out the fan lacing. I knew *what* I had to do but couldn't figure out the *how*. The AD blog says to fit the cord lengths on the body or the dummy, so I put it on Petunia, and just couldn't make it work. I gave up in frustration and took Jonah to Rockin Jump. I texted a friend who had just done this and she told me to lay out the cords with it FLAT, and estimate where I wanted the tabs holding the cords to end up. And it worked! Nearly perfectly!

Here is the front loosely laced onto Petunia. I think the fit is good. I haven't done the shoulder straps yet because I had THREE grommets left and need FOUR. Sigh. So I ordered more. It also didn't occur to me to sew on the straps before binding and also bind the straps. I'm going to unpick the binding across the shoulder part and redo it right. Fingers crossed I can pick apart the two layers of the strap, because I am out of sateen and can't cut another set if needed.


Fan lacing from the back - so cool! You can see why dealing with all those laces on the dummy was difficult. It was much easier doing it flat. I left the little tabs holding the cords open so I can adjust the cord lengths if needed. I think I'll have to do some tweaking to get them perfectly flat, but it's close.


Next up: the corded petticoat! I have cotton organdy and cording purchased.

The giant R2-D2 post

I've been bad about updating on my latest project - a Victorian R2-D2 gown! I have a whole group for Costume College who also want to cr...