Monday, March 26, 2018

Ball pictures!

I finished up all my last bits on Friday - I made pockets, tacked in the sleeve flounces, and tacked the bodice to the lining under the pleats in the back. I decided to hold off on gloves/mitts as they weren't needed for this event. We watched Marie Antoinette on Saturday morning for inspiration, and I am glad I did - I got the idea to stick the foam rollers in my hair, which helped a lot with the back of my hairstyle.

For the hair, I followed an American Duchess tutorial. I used a hair rat on top of my head, and a false long curly ponytail. The ponytail was pinned into curls in the back, and I teased up my own hair in front and smoothed it into place. There definitely wasn't enough hair in the ponytail to cover the back of my head, hence the curls in my own hair helping to fill it in. I pinned white silk roses into it and added some ostrich feathers.

18th century makeup consisted of very pale skin, lots of exaggerated rouge, red lips, and a beauty spot. No eye makeup, which is great because I suck at eye makeup! Here I am in the car on the way to the ball, and the back of my hair once we got there.


The back of the gown - don't those pleats look amazing?


I didn't have time to make boyfriend anything, so he wore his tux. We call this one our '18th century prom picture'.


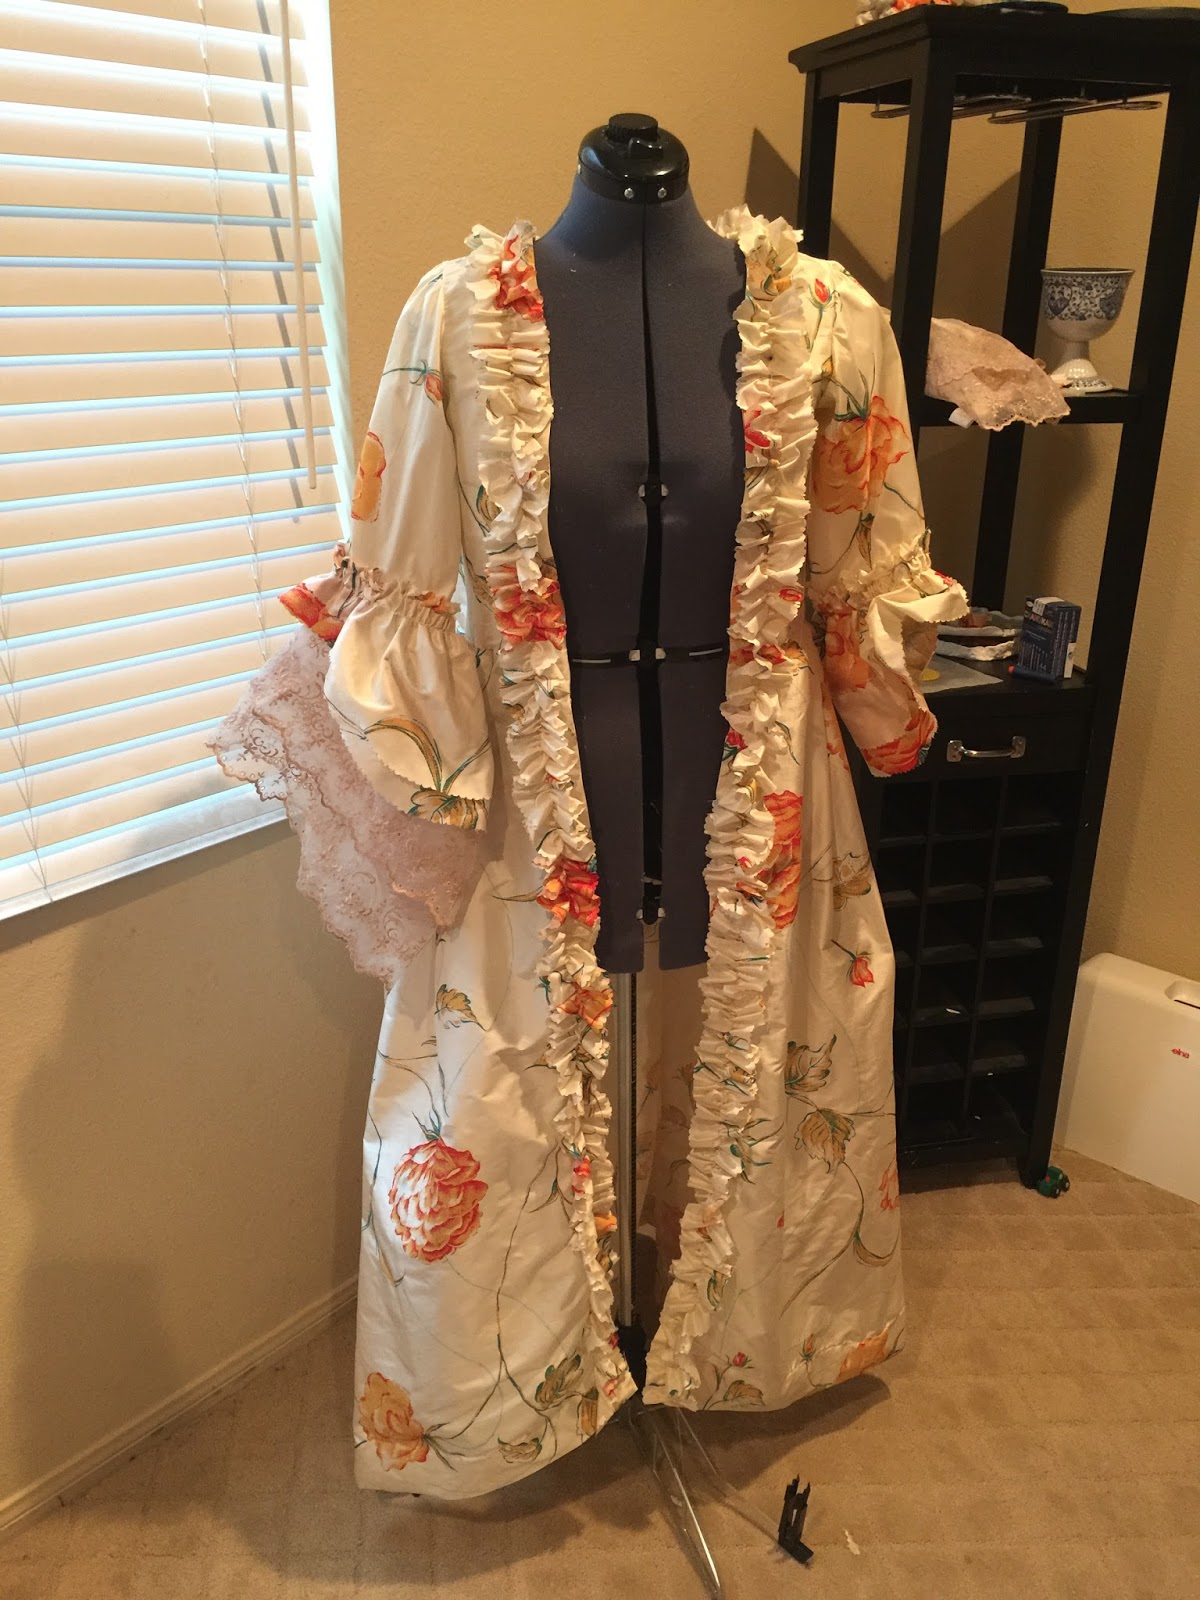
Front of the gown - the trim looks so beautiful. What you can't see is that the pinked edges have already started to fray badly. Apparently silk in the old days was much more tightly woven and didn't fray when pinked. So I need to re-pink the fraying areas and am going to treat the entire thing with fray block, or possibly gum arabic that someone told me about at the ball.


Showing off my shoes! 


And the post-ball hair! You should have seen it the next morning!


Tuesday, March 20, 2018

Gown is nearly complete!

I have been busily sewing since the Colonial Ball is this coming weekend. The gown is done though! I need to tack on the sleeve flounces and stitch the bodice down to the lining under the pleats, but otherwise it's done. This will be a picture heavy post since I have been neglecting the blog. Not that anybody reads it, since I haven't shared it publicly yet.

Here are the pleats pinned into place on the back of the gown.


Gown over petticoat, with sleeves set in. Of course I put them in backwards the first time; sleeves and I never get along. But they set in nicely with minimal gathering.


Petticoat with trim pinned on.


Stomacher. I didn't like the way the stomacher was trimmed in the pattern so I browsed Pinterest and found one that looks like this. It's not perfectly even since my hand sewing is terrible, but I like it. The buttons are covered buttons, probably not period correct, but they look nice.


Fiona the she-demon is obsessed with Petunia (the dummy). She is contemplating evil here, and yes, climbed up Petunia multiple times. I had to put the gown on the dummy to pin all the trim around the front edges and neckline.


Trim is sewn down on the right front and pinned on the left, and the sleeve flounces are pinned on.


Close-up of the flounces. The lace I bought was blindingly white, so I tea-dyed it to darken it. Funny story - I left the used tea bags cooling in a bowl on the counter and forgot about them. I was cutting some fabric off my roll the next day to do my trim, and Fiona came running across the fabric, trailing crumbly brown stuff, with wet paws. She got into the tea bags. Luckily no damage to the fabric. She then became obsessed with the dyed lace, and found it and played with it no matter where I hid it! Fortunately she didn't ruin it.


Gown pinned over stomacher to see how it looks. I like it!


Last stage of trim, the S-shaped pieces along the sides. This was tricky to sew on with the pleats at the waist, but it looks gorgeous!


I tried the gown on, just over my pajamas, and it seems to fit - phew! 

The rest of my to-do list, time permitting:

- Lace tucker for neckline
- Mitts, probably from lace and silk
- Pockets, which ideally I would love to embroider

Tuesday, March 6, 2018

New shift and under petticoat, and gown petticoat progress

After the great linen bleach debacle, I bought some lighter weight WHITE linen and redid my shift and under petticoat. I think the original bleached petticoat might still be serviceable and I could wear two, but the bleached shift is a goner. Petunia leans to one side, I promise my hem is more even than it looks. It all needs a good iron to set the pleats.


And here is the gown petticoat. It still needs to be hemmed and have the ruffled trim added. I am scared of cutting the trim, I have a hard time cutting precisely. I bought some scalloped scissors and have to decide if I want to use those or the pinking shears on these ruffles. I am SO in love with the flowered silk fabric! It does appear to have some pulls in the silk but since everything is so full, I don't think they'll be noticeable. The seller included a note that she had added an extra yard or two, woo-hoo!


AD also pointed out on their blog that Simplicity messed up the sizing on the pattern. I am a 14 as usual according to the envelope, but AD said the finished measurements printed on the bodice pattern piece are the correct ones, so I really should be a 12. Sigh. I bought the 14-22 sized pattern. I asked and AD said to cut the 14, fit the lining, then I can take in the seams where necessary. OK I can do this!

The giant R2-D2 post

I've been bad about updating on my latest project - a Victorian R2-D2 gown! I have a whole group for Costume College who also want to cr...