Monday, August 20, 2018

More Leia Progress


I finished up Leia's corset this weekend. I was really scared doing the zipper because I couldn't baste on leather, but read a tip to use double-sided quilting tape to stick it in place and that was awesome. I stupidly didn't get a separating zipper, but I can shimmy it over my head. I also messed up and let the zipper pull slide off the top when I was shortening the zipper and it took a good while to get it back on. Oops. I am really happy with how it turned out.


I also made pouches for the belt. I just need some additional hardware for the closures which is coming today - thank you Amazon. The rebel pin will go on the flap to the larger pouch. I found a belt on eBay that might work, and if not I will try to make something. 


Monday, August 13, 2018

More Leia progress

I got a bunch done on my Leia outfit over the weekend. I spent Friday on the blouse. I didn't feel like a mock-up so went with the TV sizing, and it was too narrow across the front, even though instructions said the smallest size front should have been too big! I decided to add a strip down the front for buttonholes, and I think it looks pretty good. The lace I got for the front is perfect. I do wish I'd put some netting in the sleeve puffs but it's okay. I love the Stormtrooper helmet in the background!

It still needs buttons (I HATE buttonholes), which I ordered on eBay. I also need to do some gold trim and ruffles where the sleeve puff meets the sleeve. 


I also added some picot elastic onto my bloomers to tighten them up and they look much better. I don't have any photos of me wearing them yet.

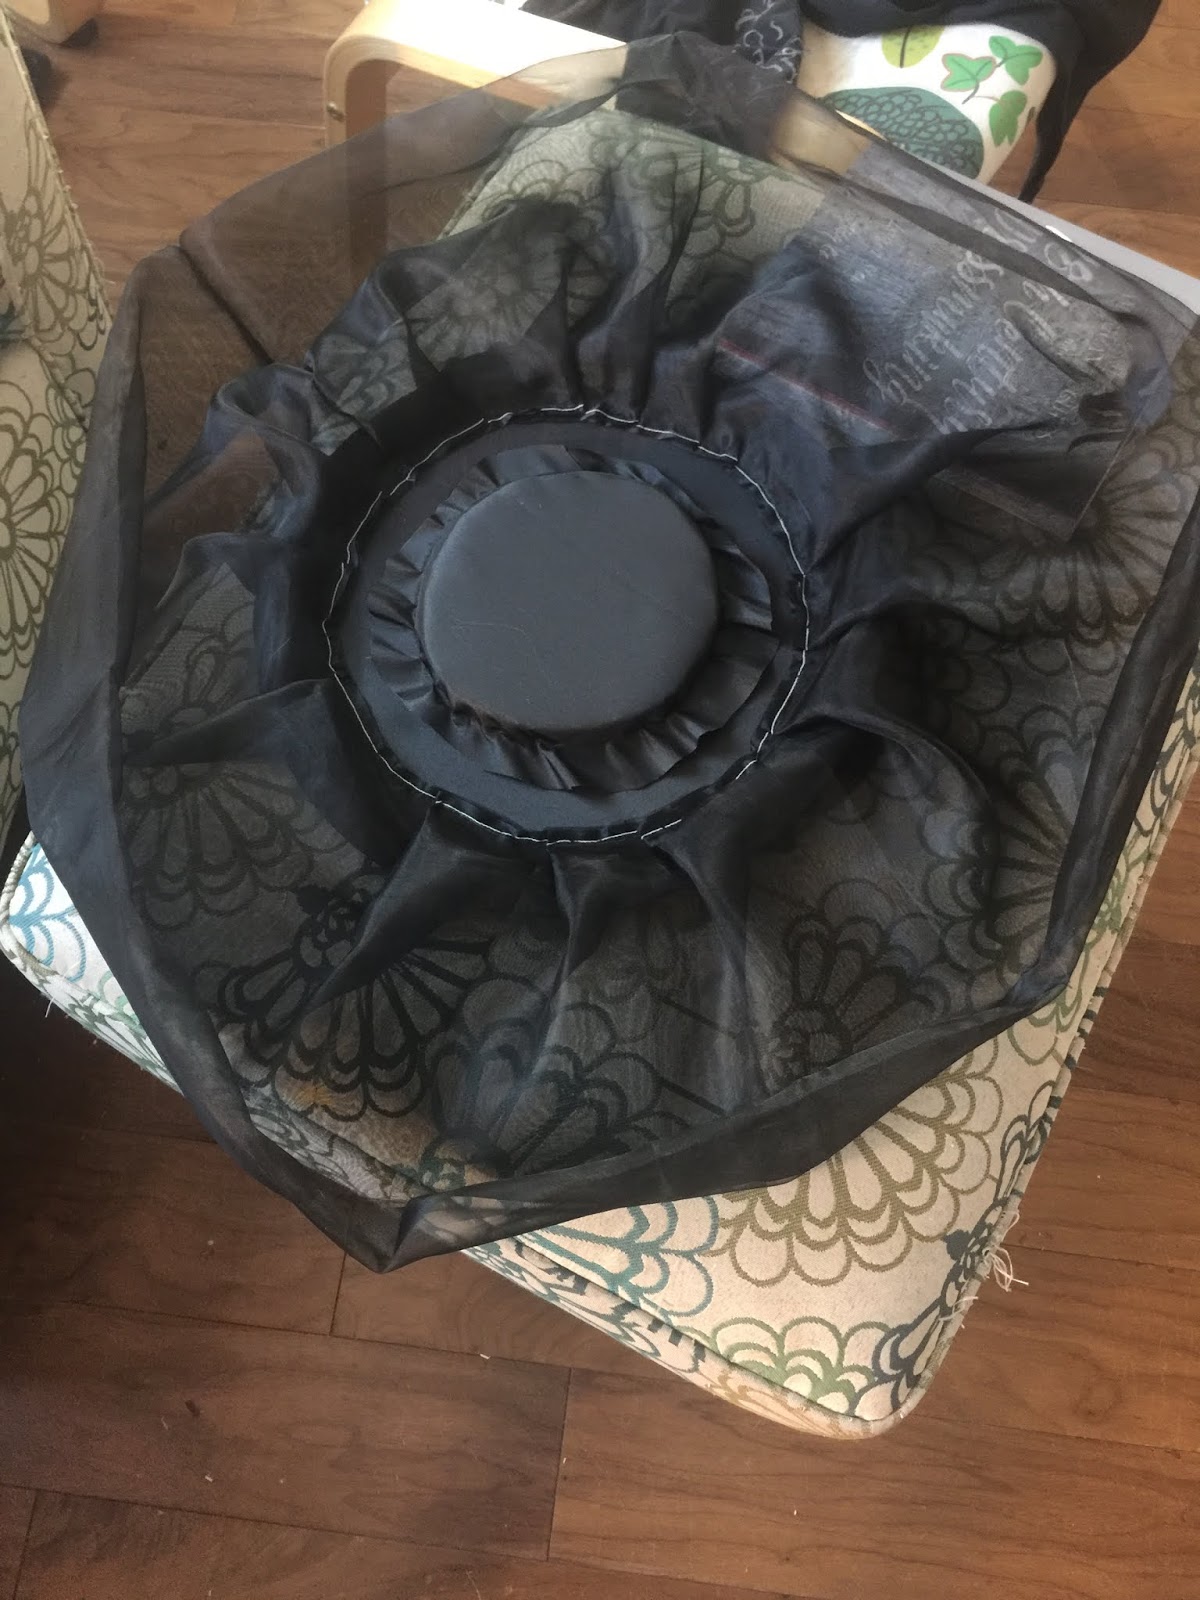
I tried ironing/pinning pleats in the overskirt, which look awful, so I still need to mess around with that. I decided to make some little side poofs on a separate waistband. I cut some semi-circle shapes, put netting in the top, and pleated it them onto a waistband. I also tacked them up to 'bustle' them up a bit. This isn't a great picture but they look pretty good - I do think they need to be poofier though.


I also worked on the corset yesterday. I did a test run of fusing the leather to the coutil and it was perfect. I bought a piece of leather hide on eBay, and the listing said "4 square feet" so I figured it would be about a yard of fabric - WRONG. It's oddly shaped and I couldn't fit all my corset pieces on it, so I decided to do the front in leather and the back in the same fabric as the skirt. This also has the advantage of not putting grommets in through leather, which was a bitch when I did my Padme costume. I bought some gold pleather to do the boning channels. I was hoping to use that for binding but it's really heavy weight (didn't pay attention when I ordered it), and I had enough left of the white leather to make binding from that. I ordered a brown zipper for the center front. I think since it's leather and doesn't ravel that I am just going to cut the edges where I want the zipper to go and put it in. I read a great tip to use quilter's tape to secure the zipper before sewing it. I SUCK at zippers so am scared - and can't baste on leather. I may hand sew it. I was nervous with the boning channels too but they came out better than I expected.


Wednesday, August 8, 2018

NoFlutter Steampunk Leia

I've decided to do LA Comic Con (formerly Comikaze) this year. I am going to recreate NoFlutter's Steampunk Princess Leia costume. I am so in love with her work.


I'm using Truly Victorian 303 for the skirt, and TV 493 for the blouse. I got Simplicity 2777 for the bloomers. For the corset I'll use one of my existing patterns with a longer point in the front. So far I have made the bloomers and the skirt. The bloomers are longer than I wanted and very loose in the legs, so I am going to sew some elastic into the leg bands to tighten them up and hike them up. The skirt came out pretty close to how I wanted it, although it doesn't have the hip bustles like in the drawing. I'm trying to decide if I want to do another little skirt to go over it or if I'm okay with it the way it is. I might just put some padding under the side drapes to puff it up a bit more, but am leaning towards adding some side poofs. 


Thursday, July 5, 2018

Cap and a second petticoat for the Anglaise

I made a cap to go with my Anglaise gown - this is worn under the brain hat. It looks ridiculously big on me, but apparently that was the style. I have since added a pale blue ribbon trim to it.


I also decided to do a second petticoat for the gown since the quilted one is very heavy, and chose an indigo blue linen. I have also gotten the trim attached since I last took photos. It's amazing how different the same gown looks with a different petticoat!


So everything is now finished, and I need to take photos. I bought a wig to wear that I need to style before pictures of the final ensemble, and am waiting on a necklace that I ordered as well. I am thinking of a Colonial Faire that is going on the next few weekends, but it's a longish drive so I'm still pondering.

Tuesday, May 22, 2018

The Brain Hat

I am working on the "brain hat" from the American Duchess book to go with my anglaise gown. I bought a straw hat base on Etsy from a lady in the 18th century sewing Facebook group to start with. I decided to use leftover taffeta (which is not silk) from my bat dress, and bought some silk organza to use for the brain puffs.

First step was lining the inside of the crown:


Next I covered the outside of the hat.


I also covered the outside of the crown, but forgot a picture of that step. You can see it here, with the organza tube attached. I stupidly basted it closed in white thread because it was on the machine and I was lazy, but thankfully it doesn't show.


Figuring out how to "puff" the organza was really hard, the book didn't have very good directions or any decent pictures, but I think it looks alright!


Last step was to put a ruffle around the outside. I am not wild about how it's kind of sticking up and might take it off and redo it with box pleated ribbon instead. The ties are only pinned on here. Isn't it ridiculous? I think it will look better with proper hair! I have also made the cap to wear under it, but I haven't finished trimming it, so I haven't taken pictures yet. It seems a bit big, I might need to take it in.

Tuesday, May 1, 2018

1890 Worth Gown

I found this gown last year when I was searching for inspiration for the butterfly gown. It's a c. 1890 gown by Charles Worth, and I fell crazy in love with it.


Unfortunately this was the only photo of it that I could find. I found that the gown was held at the Newport Historical Society and emailed them, and the lovely person who responded sent me additional photos of the gown.


I then went on a fabric hunting quest. I searched high and low, found some things that were similar but the wrong color, experimented with dyeing fabric, all to no avail. Then one day, browsing on eBay, I found this and nearly squealed with delight:


I think it's pretty darned close. I emailed the seller asking if he'd provide any kind of discount for large yardage purchases, and he kindly agreed, so I now have all 10 yards that he has on its way to me.

I cannot find any more images of this gown. The Newport Historical Society website has a good description of the construction, but it's definitely going to be a challenge to figure out that over skirt. The description says there is a "complicated system of tapes" holding all the poofs in place. I am planning to use the Ageless evening bodice pattern that I used for the Butterfly Gown for the bodice, it's extremely close. The under skirt is simple. The over skirt is going to require a lot of draping/practice to figure out though!

I bought a book on the House of Worth on Amazon - supposedly it has a ton of photos of gowns including construction details, so I am hoping that will give me some insight for draping the over skirt.

Monday, April 30, 2018

Almost done with the anglaise

I am almost done with the gown! It needs front closures (I'm using hook and eye tape) and trim. 

I really wanted box pleated trim out of self-fabric, but I also played around with using some of the organza. I tried box pleating that too, but it looked awful.


I also played with a ruffle from the organza. I like this too. In the end I decided to do the box pleats in self-fabric, and I'll probably also make a tucker out of the organza that I can add if I want to dress it up. I cheated on the box pleats after a friend gave me the idea and sewed a tube of fabric, that way I don't have to hem all those edges by hand! I had about 150" of fabric and was NOT looking forward to hand hemming all of that. Plus the duvet cotton is very thin and soft, so this gives the pleats a bit more body.


Then we had the moment of truth - trying it on to see if it actually fits me, and I am pleased to say the modifications I did to the neckline and back of the armscye worked out perfectly. Now I know where to put the front closure. 


The giant R2-D2 post

I've been bad about updating on my latest project - a Victorian R2-D2 gown! I have a whole group for Costume College who also want to cr...